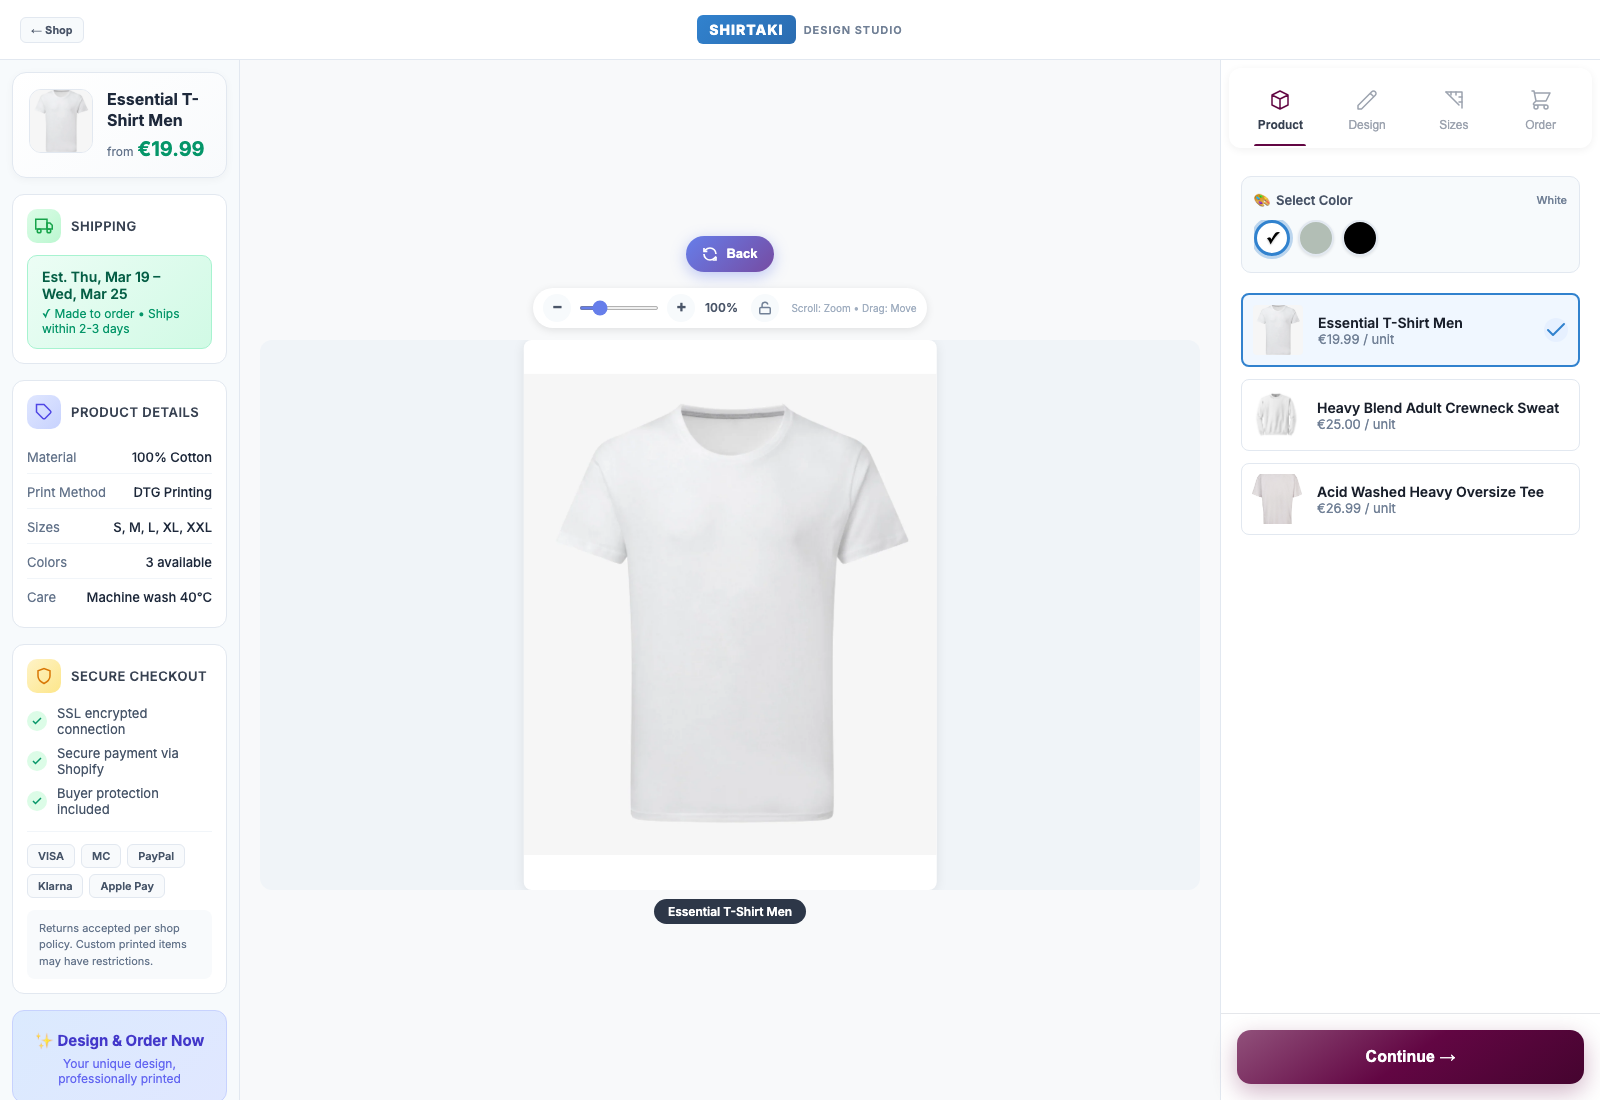
Product setup and live product selection
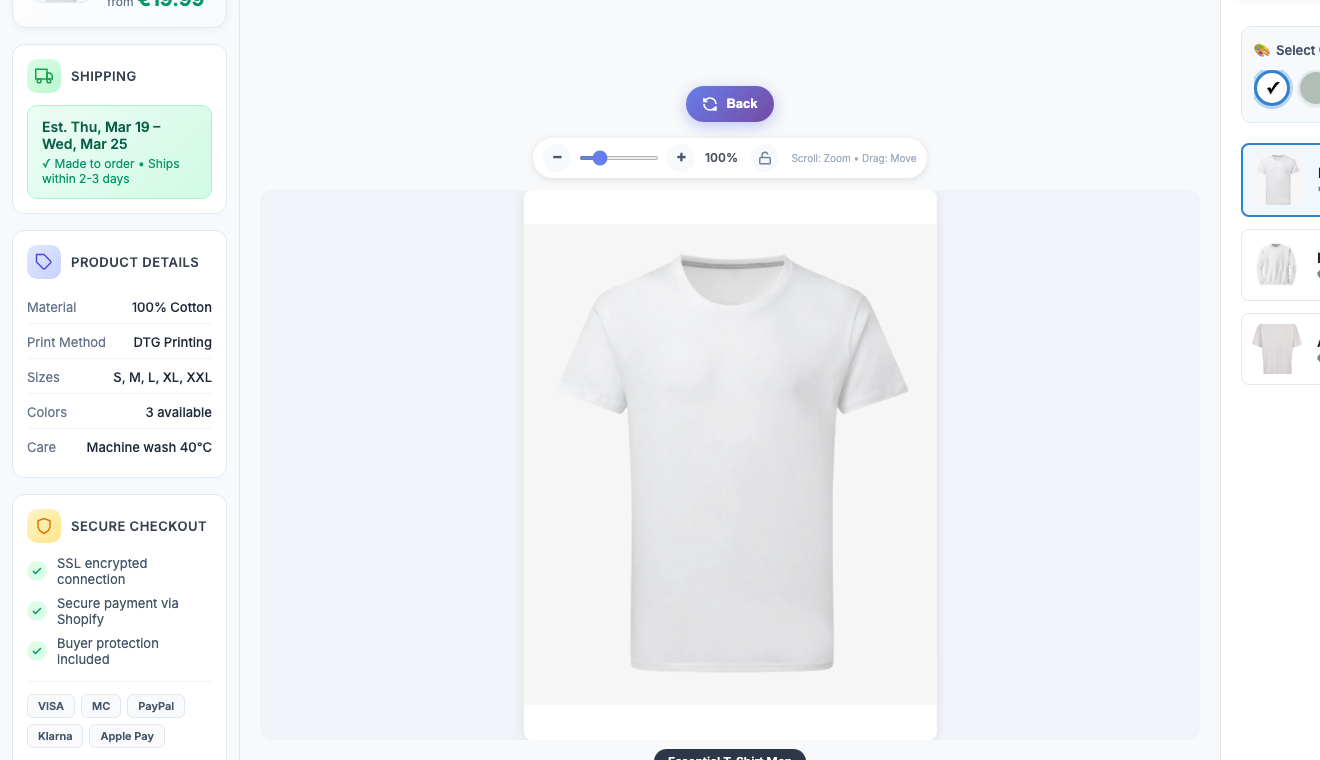
This is the entry view on the storefront. It keeps product choice, color selection, pricing context, and the next step visible without overwhelming the shopper.
- The merchant connects an existing Shopify product instead of rebuilding the catalog in a separate system
- The storefront shows product choices, color selection, and active item details in a clear product-first layout
- Live stock, product data, and product switching stay tied to the Shopify setup behind the designer